Welcome to my little corner of the kitchen, where I share my ultimate passion for desserts! If you’ve got a sweet tooth like mine, you’re in for a treat with *Lauren’s latest recipes desserts*. This collection is all about delightful desserts that will satisfy your cravings and bring a smile to your face. Imagine biting into a soft, warm piece of cake that just melts in your mouth – it’s pure bliss! Each recipe is crafted with love and a bit of chaos, ensuring you can whip up something sweet without feeling overwhelmed. Whether it’s a special occasion or just a Tuesday that needs a sprinkle of joy, these recipes are here to rescue your day. So, grab your apron, and let’s dive into this delicious journey together. Trust me, you won’t want to miss out on these treats that will have your taste buds dancing!
Ingredients List
Gathering your ingredients is half the fun! Here’s what you’ll need to create this delightful dessert:
- 1 cup all-purpose flour – sifted for a lighter texture
- 1/2 cup sugar – granulated, to add just the right amount of sweetness
- 1/4 cup butter – unsalted and softened, because trust me, it makes all the difference!
- 2 eggs – large, at room temperature for easy mixing
- 1/2 cup milk – whole milk is best, but you can use whatever you have on hand
- 1 teaspoon vanilla extract – for that lovely aromatic touch
- 1/2 teaspoon baking powder – makes everything light and fluffy
- 1/4 teaspoon salt – to balance the sweetness and enhance flavors
These ingredients come together to create a scrumptious base that you can enjoy as is or elevate with your favorite toppings! Remember, freshness is key, so don’t skimp on the quality of your ingredients. Happy baking!
How to Prepare Instructions
Alright, it’s time to bring your delightful dessert to life! Follow these simple steps, and you’ll have a delicious treat in no time:
- Preheat your oven to 350°F (175°C). This is super important, so don’t forget this step! A properly preheated oven ensures even baking.
- In a large mixing bowl, cream together the softened butter and sugar until it’s light and fluffy. This usually takes about 2-3 minutes. You want it to look like whipped honey!
- Add the eggs one at a time, mixing well after each addition. This helps incorporate them fully into the mixture, which is key for that perfect texture.
- Next, stir in the milk and vanilla extract. Just mix until everything is combined; it’ll smell heavenly, I promise!
- In a separate bowl, combine the flour, baking powder, and salt. This step makes sure the leavening agent is evenly distributed, which helps your cake rise beautifully.
- Now, gradually add the dry ingredients to the wet mixture. I like to do this in three parts, alternating with the wet ingredients to keep the batter smooth and lump-free.
- Pour the batter into a greased baking dish. Make sure it’s spread evenly – this helps it bake uniformly.
- Bake for 25-30 minutes or until a toothpick inserted in the center comes out clean. Keep an eye on it! The smell wafting through your kitchen will be irresistible, but don’t open the oven too soon or it might sink!
- Once baked, let it cool in the pan for about 10 minutes before transferring it to a wire rack to cool completely. Patience is key here; it’ll be worth the wait!
And there you have it! Easy peasy, right? Now you’re just a few steps away from dessert bliss!
Nutritional Information Section
Now, let’s chat about the nutritional goodness packed into each piece of this delightful dessert! Here’s a breakdown of the estimated values you’ll find in one serving:
- Calories: 180
- Fat: 7g
- Saturated Fat: 4g
- Unsaturated Fat: 2g
- Trans Fat: 0g
- Cholesterol: 40mg
- Sodium: 150mg
- Carbohydrates: 25g
- Fiber: 1g
- Protein: 3g
- Sugar: 10g
These values give you a good idea of what to expect while enjoying your sweet treat! Remember, moderation is key, so savor each bite and enjoy the delightful flavors without worry. Happy indulging!
Why You’ll Love This Recipe
There are so many reasons to fall in love with this delightful dessert, and here are just a few that I know will have you rushing to the kitchen:
- Quick Preparation: With just 15 minutes of prep time, you can whip up this sweet treat in no time. Perfect for those spontaneous cravings!
- Easy to Make: The steps are straightforward, so even if you’re a beginner, you’ll feel like a pro as you mix and bake your way to deliciousness.
- Delightful Flavor: Each bite is a perfect balance of sweetness and richness, thanks to the combination of butter, sugar, and a hint of vanilla. Trust me, your taste buds will thank you!
- Versatile Base: This recipe is a blank canvas! You can enjoy it as is or dress it up with your favorite toppings like whipped cream, ice cream, or fresh fruit.
- Perfect for Any Occasion: Whether it’s a cozy night in or a gathering with friends, this dessert fits right in. It’s sure to impress everyone at the table!
Once you make this, I have a feeling it’ll become a staple in your dessert rotation. Go ahead and give it a try! You won’t regret it!
Tips for Success
Alright, my fellow dessert enthusiasts! To ensure your delightful dessert turns out absolutely perfect, here are some pro tips that I’ve gathered through my own baking adventures. Trust me, these little nuggets of wisdom can save you from common pitfalls!
- Room Temperature Ingredients: Always remember to let your eggs and butter come to room temperature before mixing. This makes for a smoother batter and helps everything blend together beautifully!
- Don’t Overmix: Once you combine your wet and dry ingredients, mix just until everything is incorporated. Overmixing can lead to a tough texture, and nobody wants that! A few lumps are totally okay.
- Check Your Oven Temperature: Ovens can be tricky! If you’re unsure about yours, it’s worth investing in an oven thermometer to make sure you’re baking at the right temperature. This can prevent undercooking or overbaking.
- Use a Toothpick Test: When checking for doneness, stick a toothpick in the center of your dessert. If it comes out with a few moist crumbs, it’s perfect! If there’s wet batter, give it a few more minutes.
- Let It Cool: Patience is key! Allow your dessert to cool completely before slicing. This not only helps with texture but also makes serving easier and more satisfying.
With these tips in your back pocket, you’re all set to create a dessert that’s sure to impress! Happy baking!
Variations
One of the best things about this delightful dessert is how versatile it can be! Here are some fun and creative variations to take your sweet treat to the next level:
- Citrus Twist: Add the zest of one lemon or orange to the batter for a refreshing citrus flavor that brightens up every bite. You could even drizzle a simple citrus glaze on top for an extra zing!
- Chocolate Lovers: Mix in a half cup of chocolate chips or chopped dark chocolate for a rich, decadent touch. You can also replace a quarter cup of flour with cocoa powder for a chocolate version of this dessert!
- Nutty Addition: Stir in a half cup of chopped walnuts or pecans into the batter. The crunch adds a delightful texture, and the nuts complement the sweetness perfectly!
- Berry Bliss: Fold in a cup of fresh or frozen berries like blueberries, raspberries, or strawberries. They’ll burst with flavor and add a lovely pop of color to your dessert!
- Spiced Up: Add a teaspoon of cinnamon or nutmeg to the dry ingredients for a warm, comforting spice that pairs beautifully with the sweetness of the cake.
- Toppings Galore: Top your finished dessert with whipped cream, a scoop of ice cream, or a drizzle of chocolate or caramel sauce. Fresh fruits or a sprinkle of powdered sugar can also elevate the presentation and taste!
Feel free to mix and match these variations to find your favorite combination! Each change can turn this delightful dessert into something new and exciting every time you bake it. Now go ahead and get creative in the kitchen!
Serving Suggestions
Now that you’ve whipped up this delightful dessert, let’s talk about how to serve it for maximum enjoyment! Here are some suggestions that’ll elevate your dessert experience and impress your guests:
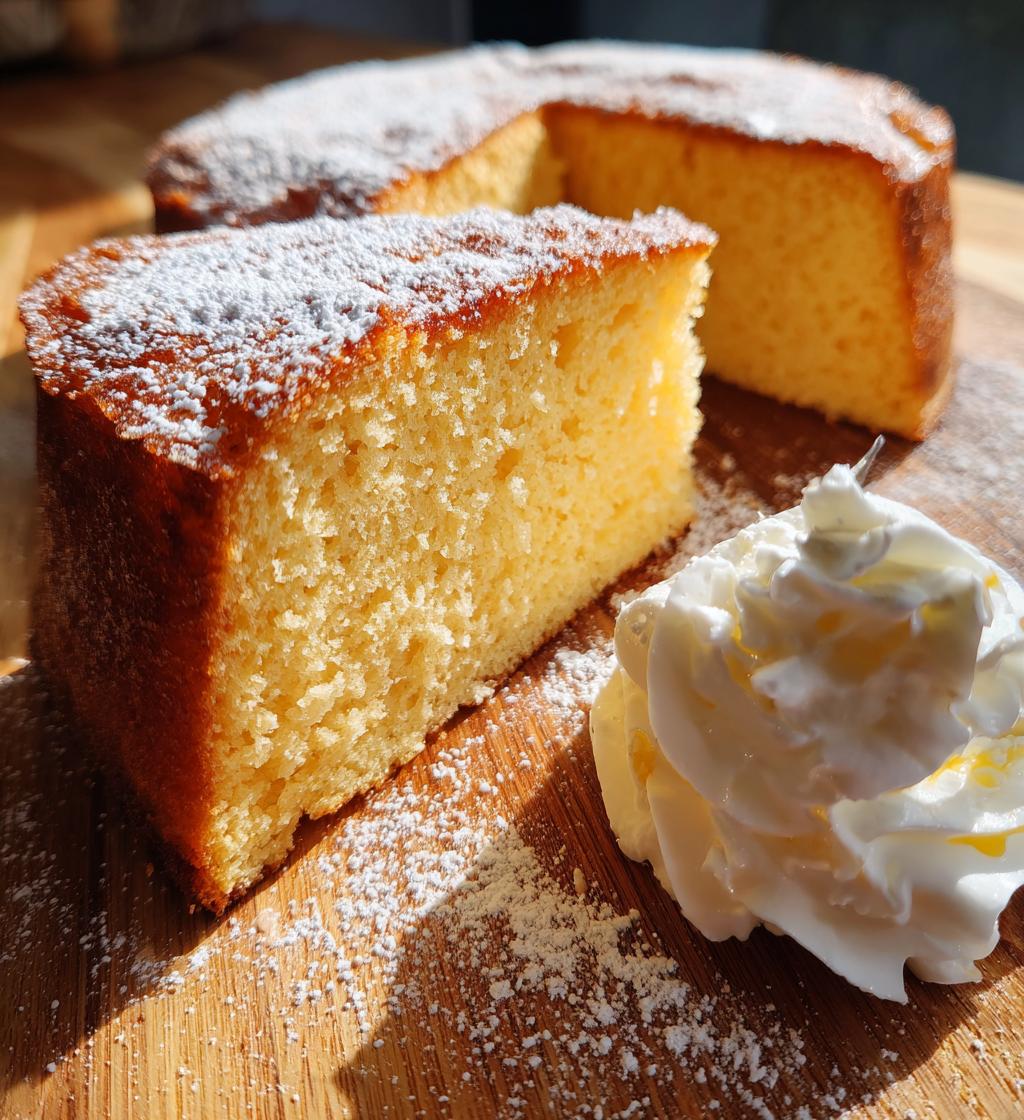
- Classic Pairing: Serve each piece of your dessert with a generous dollop of whipped cream. The lightness of the cream complements the richness of the cake beautifully, making each bite feel indulgent.
- Ice Cream Delight: For a truly decadent treat, add a scoop of your favorite ice cream on top. Vanilla, chocolate, or even a fruity sorbet are fabulous options that will make your dessert feel like a special occasion.
- Fresh Fruit: Slices of fresh strawberries, raspberries, or blueberries can brighten up your dessert and add a refreshing touch. They also bring a lovely pop of color to your plate!
- Coffee or Tea: Pair your dessert with a warm cup of coffee or herbal tea. The warmth of the drink contrasts wonderfully with the coolness of whipped cream or ice cream, creating a lovely balance.
- Chocolate Drizzle: Drizzle some melted chocolate or caramel sauce over the top for an extra layer of flavor. This little touch will not only look stunning but also add a rich taste that complements the sweetness perfectly.
These serving suggestions will not only enhance the overall experience but also make your dessert feel like a true celebration! So gather your loved ones, set the table, and enjoy every delicious moment together. Happy indulging!
Storage & Reheating Instructions
Let’s talk about how to keep your delightful dessert fresh and tasty! Proper storage will ensure you can enjoy those sweet bites even days later. Here’s how to store and reheat your creation:
- Storing Leftovers: First things first, make sure your dessert is completely cooled before storing. Place any leftovers in an airtight container to keep them fresh. This prevents them from drying out and helps retain that lovely flavor. If you’re planning to keep it for more than a couple of days, I recommend wrapping it tightly in plastic wrap before placing it in the container.
- Refrigeration: If you live in a warm climate or it’s particularly humid, it’s best to store your dessert in the refrigerator. Just remember to let it sit at room temperature for about 10-15 minutes before serving; this will help bring back that perfect texture!
- Freezing for Later: Want to save some for a rainy day? You can freeze individual slices! Wrap each piece in plastic wrap and then place them in a freezer-safe bag or container. They’ll stay good for up to three months. When you’re ready to indulge, just thaw them in the refrigerator overnight.
- Reheating Tips: To enjoy your dessert warm, pop it in the microwave for about 15-20 seconds. Keep an eye on it to make sure it doesn’t get too hot! You can also reheat it in the oven at 350°F (175°C) for about 10 minutes, which will help restore its delightful texture. A scoop of ice cream on the side while it’s warm? Yes, please!
With these storage and reheating tips, you’ll be able to savor your delicious dessert long after it’s baked! Enjoy every bite, no matter when you decide to indulge!
FAQ Section
Got questions? I’ve got answers! Here are some of the most common queries I hear about this delightful dessert, along with my tips to help you out:
- Q1: Can I substitute ingredients in this recipe?
Absolutely! You can swap out the all-purpose flour for a gluten-free blend if needed. Just make sure to use a 1:1 ratio. Also, feel free to use unsweetened applesauce instead of butter for a lower-fat version, but keep in mind this may change the texture a bit! - Q2: How can I make this dessert less sweet?
If you’re looking to cut down on sweetness, you can reduce the sugar by a quarter cup. Just remember, it might affect the overall texture slightly, but it’ll still be delicious! - Q3: Can I make this dessert ahead of time?
Yes! You can prepare the batter and store it in the refrigerator for up to 24 hours before baking. Just bring it back to room temperature before pouring it into the baking dish and popping it in the oven. - Q4: What’s the best way to tell if the dessert is done baking?
The toothpick test is your best friend here! Insert a toothpick into the center of your dessert, and if it comes out with a few moist crumbs, it’s perfect. If it’s wet, give it a few more minutes in the oven. - Q5: How long will leftovers last?
If stored properly in an airtight container, your delightful dessert will stay fresh for about 3-4 days at room temperature or up to a week in the fridge. If you freeze it, it can last up to three months – perfect for those unexpected cravings!
Hopefully, these answers help you with any concerns you might have! Don’t hesitate to reach out if you have more questions as you dive into baking this delightful dessert!
Print
laurens latest recipes desserts: 7 Blissful Treats to Try
- Total Time: 45 minutes
- Yield: 8 servings 1x
- Diet: Vegetarian
Description
A collection of delightful dessert recipes to satisfy your sweet cravings.
Ingredients
- 1 cup all-purpose flour
- 1/2 cup sugar
- 1/4 cup butter
- 2 eggs
- 1/2 cup milk
- 1 teaspoon vanilla extract
- 1/2 teaspoon baking powder
- 1/4 teaspoon salt
Instructions
- Preheat the oven to 350°F (175°C).
- In a bowl, cream together butter and sugar.
- Add eggs one at a time, mixing well after each addition.
- Stir in milk and vanilla extract.
- In a separate bowl, combine flour, baking powder, and salt.
- Gradually add the dry ingredients to the wet mixture.
- Pour the batter into a greased baking dish.
- Bake for 25-30 minutes or until a toothpick comes out clean.
- Let cool before serving.
Notes
- Store leftovers in an airtight container.
- Can be served with whipped cream or ice cream.
- Adjust sugar to taste.
- Prep Time: 15 minutes
- Cook Time: 30 minutes
- Category: Dessert
- Method: Baking
- Cuisine: American
Nutrition
- Serving Size: 1 piece
- Calories: 180
- Sugar: 10g
- Sodium: 150mg
- Fat: 7g
- Saturated Fat: 4g
- Unsaturated Fat: 2g
- Trans Fat: 0g
- Carbohydrates: 25g
- Fiber: 1g
- Protein: 3g
- Cholesterol: 40mg
Keywords: laurens latest recipes desserts